In the Assistance View, hold down the CTRL button and drag over to the .h to automatically create its property. Synthesize it in the .m.
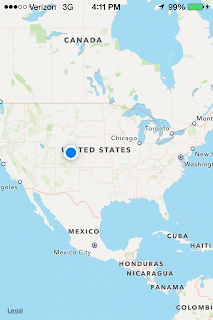
Run it. If you're on your phone you will see your location, using the XCode simulator you will find yourself in San Francisco.
There isn't a zoom, but there is a blue dot in the middle of the map.
Now to zoom! I've decided to zoom to a specific location. All that is needed is a CLLocationCoordinate2D and a MKCoordinateRegion for zooming then adding it to the mapView.
It zooms to the coordinates provided, but where exactly is the point? A Map Annotation is needed.
I created a Map Annotation class (File -> New -> File -> Objective-C Class) and called it MapViewAnnotation subclass of NSObject.
Back in the .m file I implemented the class.
Yay! Tapping the red pin, the annotation appears.


No comments:
Post a Comment